Has a client contacted you for website redesign services, but you are unsure how to go about it? You have come to the right place. A website redesign can be a huge success when done right or a total flop if you lack a clear vision. Here I’ll take you through a process that our agency used to redesign a website for our client successfully.
How to tell if a client’s website needs a redesign?
A website design involves revamping a website for better conversions and site performance. It involves many things, including refreshing layouts, updating content, and improving navigation. The question that most people ask is how often they should invest in a website redesign. While there’s no magical answer to this question, here are top reasons why a website may need redesigning:
- When rebranding or repositioning
- Need to create a better user experience
- The current site isn’t mobile responsive
- The current design looks outdated
- Need to improve conversions/sales
- Third-party tools are outdated
- The current website doesn’t work
Steps to redesign a website
Research forms a crucial part of our website redesign process. Before we start the redesign process, we dig deeper into our customers’ audience to find what works and what doesn’t work. Ideally, our redesign process follows these steps:
- Auditing the current site
- Understanding the users
- Identifying the goals
- Competitive analysis
- Creating a strategy
- Evaluating the platform to use
- Setting a timeline
- Execution
- Pre-launch review
Step 1: Audit the current site
As a web design company, we understand that proper preparation is necessary when redesigning a website. The first step we took was to conduct an in-depth audit of our client’s current site. During the audit, we realized that some parts of the website were outdated or underperforming, while we could reuse some.
Specifically, here’s what we were doing when auditing the website:
Assess the website page performance
We build a sitemap of the current website to help review the analytics of each page and look for noticeable user trends. Through this, we were able to know what pages we needed to work with. By analyzing things like traffic, conversions, etc., we could tell what pages users find helpful and what pages we needed to remove. This helped us significantly when creating a sitemap for the new website.
SEO audit for the current site
No matter how good a website is, no one will see it if it is not optimized for SEO. With this in mind, we used Google Search Console to conduct a complete SEO audit of our client’s site to get an idea of where they were with SEO efforts and what we could do to ensure the site performs well in search engines.
After conducting the SEO audit, we realized that technical issues like site speed and missing keywords negatively affected the website’s organic performance.
Content review
Content is another significant part of a website. Even so, many website owners don’t know how to use it to grow their business. For instance, after reviewing the content on our client’s website, we realized that most of it was about their business and not their audience.
Most people visit a website to find an answer to their question and probably make a purchase. That being the case, good website content needs to be about buyer’s pain points and not about “you” and your company.
Step 2: Identify the Users
One of the mistakes that inexperienced website designers make when redesigning a website is failure to understand the current website visitors. We knew this very well and wanted to do things a bit differently.
We decided to interview the users and ask them questions so we could understand their journey. Some of the questions we asked the users include:
- What was your experience navigating to page x?
- What prompted you to purchase product X?
- What challenges did you experience on the website?
As you can see, these questions aim to understand the user’s journey so you can make the necessary changes. Besides interviewing the users, we set up user testing to get first-hand information on how users interact with the website when performing different tasks. This way, we were able to identify areas that we needed to change to minimize user frustrations.
Step 3: Set goals
Now that we had already conducted the site audit and were familiar with the users’ journey, the next step was to set the goals. Of course, we had an idea of why our client wanted to redesign their website, but we knew it was imperative to set some specific goals after our research.
Since we wanted to make a website that works well for SEO and marketing, we went beyond the looks and appearance to include the website’s functionality. Although visual features are good, they can cause issues when stuffed on a website. Think about hard-to-find navigation, slow loading times, confusing page links, etc., that would frustrate a user.
Here’s how we set goals for our website redesign:
- Our client wanted to triple their visitors, so we used a number when setting our goals
- Navigation was an issue, so we made specific design goals
- Mentioned specific functionalities like calls to action
After setting our goals, we communicated them to the entire team so they could know what needed to be done.
Step 4: Competitive analysis
There’s nothing wrong with looking at your competition to see what they are doing in your industry. If a competitor is doing better than you, it is wise to figure out why that is the case.
In our case, we took a look at other competitor websites and took note of what we like and what we don’t. We looked at what they are doing on their website that our client is not. But don’t get us wrong, our aim was not so that we could imitate them. Instead, we wanted to figure out how we could improve and set our client’s website apart from the competitors.

Step 5: Create a strategy
Now that we had well-defined goals and performed competitive analysis, the next step was to define a strategy for achieving those goals. Here’s what we included in our strategy.
Information architecture
We discovered some pages that were doing well during our site audit and some that did not receive any visitors. We needed to reorganize these pages, delete some, and even add other pages that we deemed fit.
We drew structural maps of the old site to get an idea of how the screens compare. We took into consideration the goals, evaluated traffic and content before implementing the new changes. The information architecture acted as a checklist when designing, writing, or coding all the pages.
User journey
How a user interacts with a website will determine how long they will stay on the site and whether they will make a purchase or not. To that end, it is imperative to consider all the stages of a user’s journey, from when they get into the website to when they make a purchase.
By identifying the ideal user flow, we could determine how visitors will interact with the site. Once we knew how a user would move through the site, it became easier to optimize the user journey.
SEO checkpoints
One of the main reasons for redesigning a website is to improve traffic and increase sales. As earlier stated, no one will see your website if it is not discoverable on search engines. Our web design team knew this, and that’s why they involved our SEO nerds in every step of the redesign process.

Our SEO experts performed proper keyword research to get an idea of what visitors are looking for and optimize the new site for those keywords. Knowing the terms that the potential buyers are using helped in two ways. First, it made it easier to create content that resonates with the audience, and secondly, it helped improve ranking in search engines.
Besides keyword research, here are other steps we took to optimize the site for SEO:
- Include Meta descriptions and permalinks for all content
- Include headers and subheaders for readability
- Include target keywords on the landing pages
- Improve site loading time
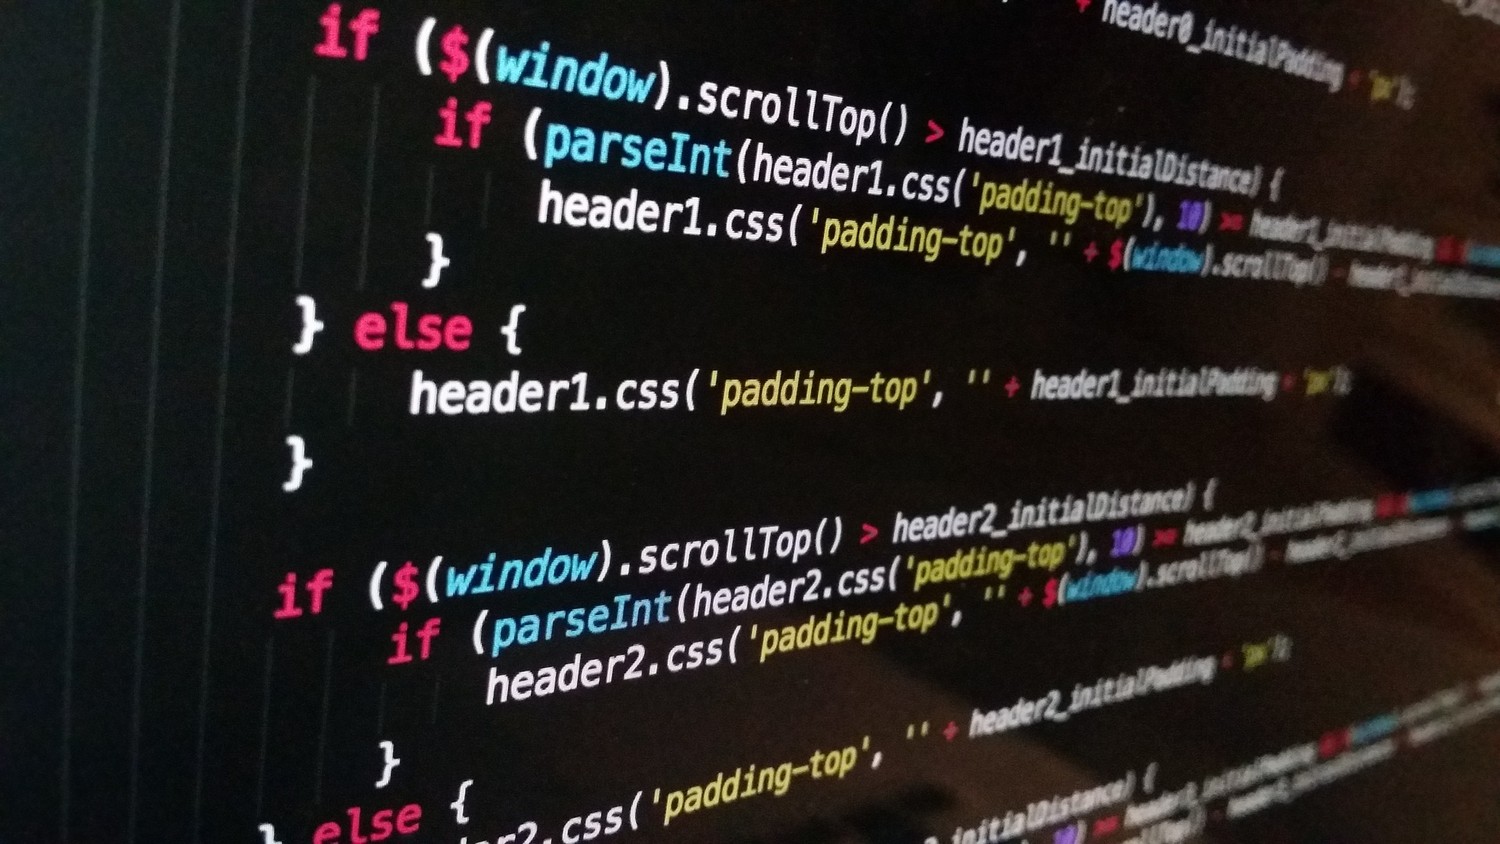
Mobile responsiveness
Currently, there is more mobile browsing than desktop browsing, meaning more users are likely to use a tablet or phone when accessing a website. To ensure our client’s website is up to the task, we had to make it mobile responsive.
User experience is Google’s new ranking factor, meaning websites that don’t have a good user experience will rank low on search engines. Besides, users are likely to leave a site if it is not responsive. A responsive website will not only improve user experience but boosts SEO as well. Some of the steps we took to improve site load times and mobile experiences include:
- Optimize Images
- Optimize Fonts
- Optimize CSS Delivery
- Enable Compression
- Reduce Server Response Time
- Defer JavaScript & JavaScript Loading
- Minify JavaScript & CSS
- Minify Resources
- Prioritize Above the Fold Content
- Shove Scripting Below the Fold
Step 6: Evaluate the Site CMS
Choosing the right software is crucial when redesigning a website. This software, also known as a content management system (CMS), determines how content is developed, designed, and published.
Different platforms have their advantages and disadvantages. The key is to use a platform that is up to date; otherwise, you will miss several valuable features and optimizations.
In our case, we wanted a secure, search-engine friendly platform and one that is optimized for speed, so we went with WordPress. Of course, there are many possibilities out there, so be sure to check them depending on what you want to achieve for your clients.
Step 7: Set a timeline
Goals can never be open-ended. After we had everything ready, we set a realistic timeline to finish the project.
Creating a website takes time, so we gave ourselves enough time to avoid rushing the process. Of course, there’s no magic way to determine the time it will take to redesign a website, but it will take 2-5 months to complete the project in most cases.
For our case, we considered when the client would need the website and the amount of work we planned to put into it. After we had a deadline, we broke it into smaller pieces to help us keep track of our progress.
Step 8: Execution
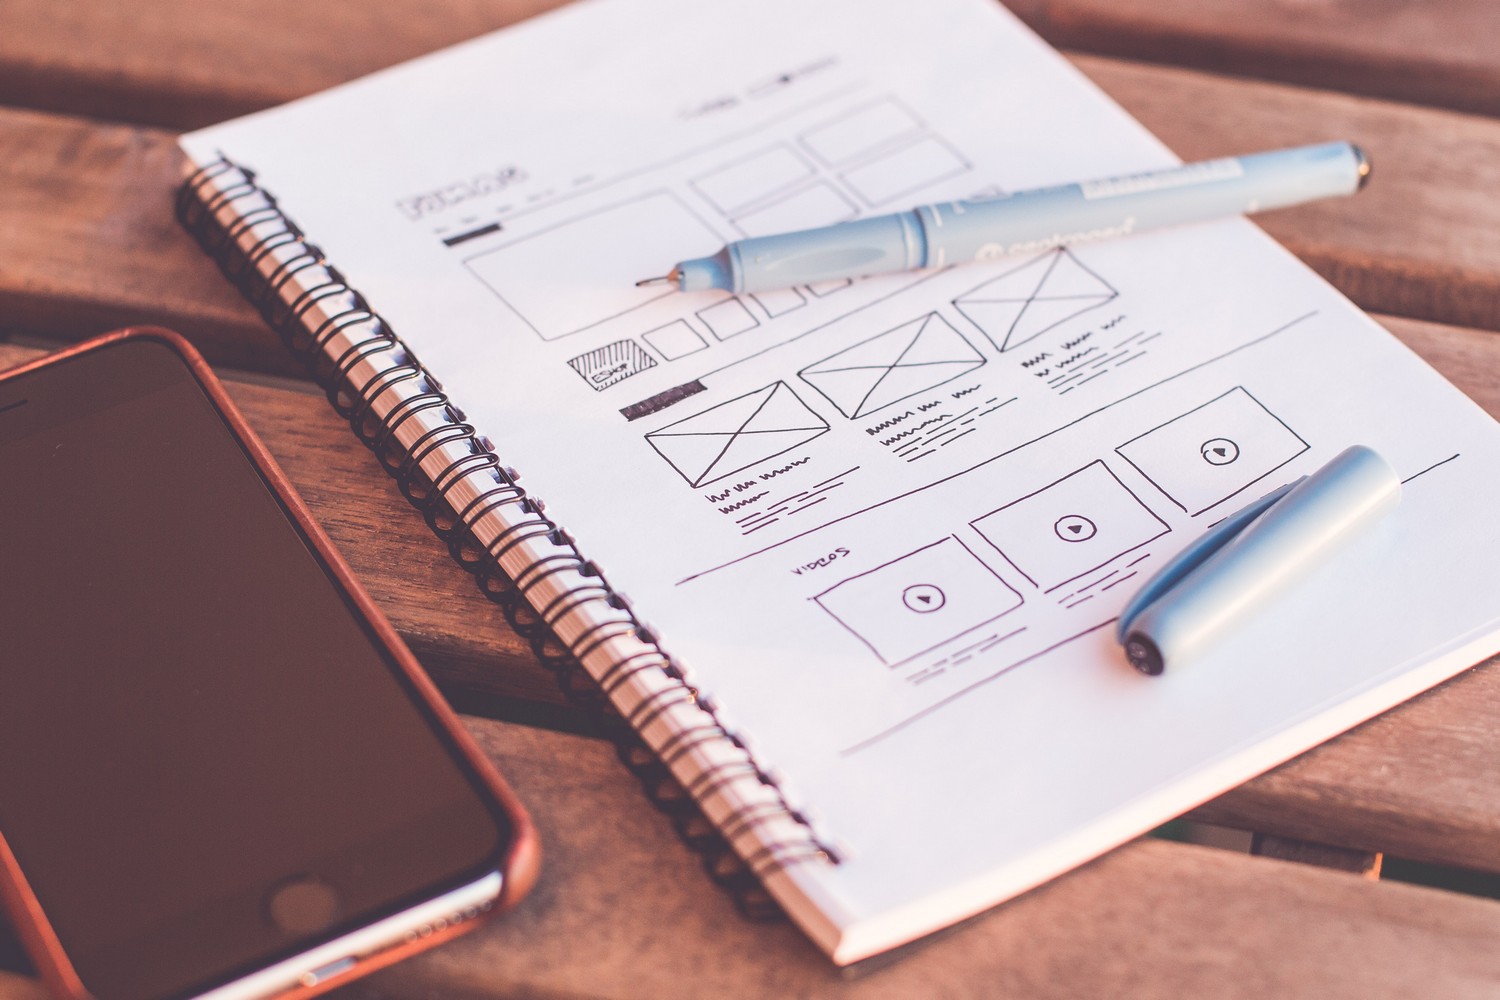
Designing is the most critical step of a website redesign. It is the time that you finally get to put together what you have been preparing behind the doors.
We wanted the best for our client, so we decided to take it slow while getting constant feedback along the way. The first step was to create wireframes to get a clear idea of how the content will appear on each page.
After that, we went into designing the homepage and, of course, asking for feedback from the team. This saved us much time as it ensured that everything is heading in the right direction from the start. We repeated the same process for the remaining sections until we completed the whole site.
Step 9: Pre-launch review
Now that you have designed and developed the website, the next step is to launch the website. However, before launching the website, we decided to review the site to ensure everything was in order. Here’s what we included in our pre-launch review:
- Ensuring that the Meta description and page titles to ensure they are correct
- Checking for any broken links
- Checking for any missing or broken images
- Confirming that 301 redirects are set
Reviewing the website before handing it to the owner allowed us to fix any issues that could arise after the launch. What’s more, it became easier for users to transition from the old site to the new one.


Suggested
Agentic Resource Discovery: A Practical Walkthrough
Agentic resource discovery is the new standard that tells AI agents what your website can do for them. Most sites have no answer yet. They are invisible to the agents that will soon book, buy, and research for real customers. Here is the problem. Search is moving from people typing queries to agents acting on their behalf. If an agent
July 6, 2026
How to Solve the AI Search Attribution Funnel
Your AI search work is paying off. People are finding you in ChatGPT and Perplexity, your brand shows up in the answers, and demand feels warmer than it did last year. Then you open your analytics. The channel that grew is “Direct.” The report says AI sent you almost nothing. That gap is not a traffic problem. It is an
July 2, 2026
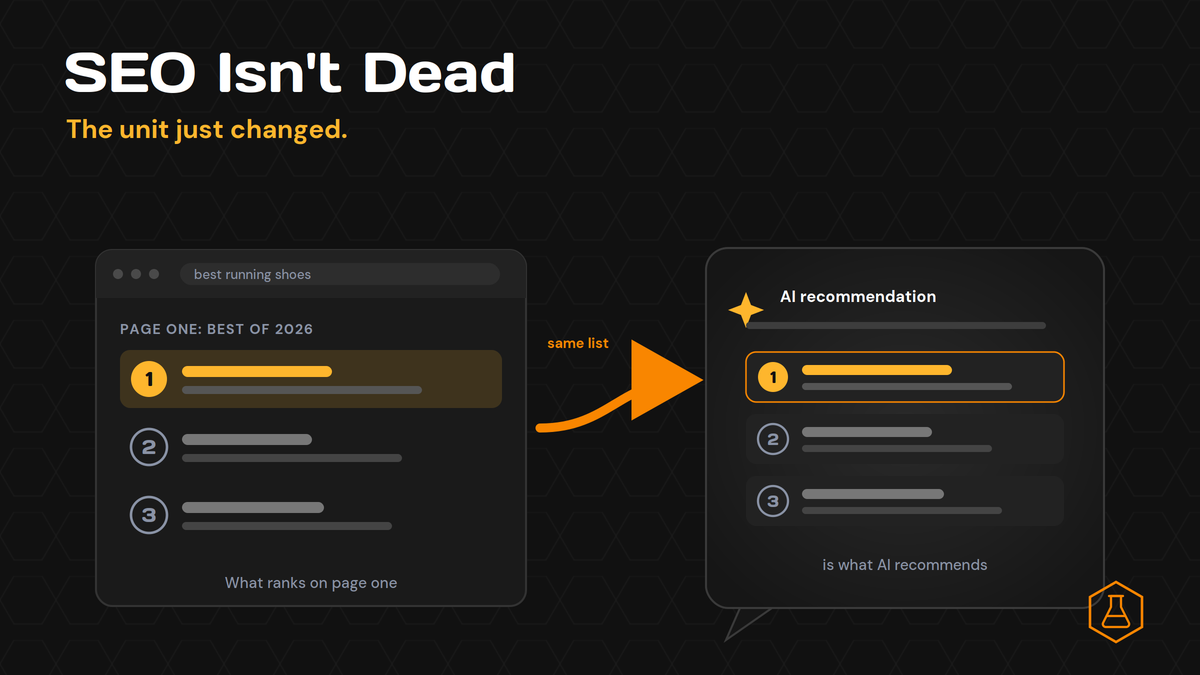
SEO Isn’t Dead. The Unit Just Changed.
Every quarter someone declares SEO dead. This year AI search is holding the knife. The logic sounds clean: if ChatGPT and Perplexity answer the question, nobody clicks a blue link, so why rank at all? We wanted a real answer, not a hot take. So we ran the test. We sent 8 buyer-style “best tool” questions through Perplexity and logged
June 29, 2026
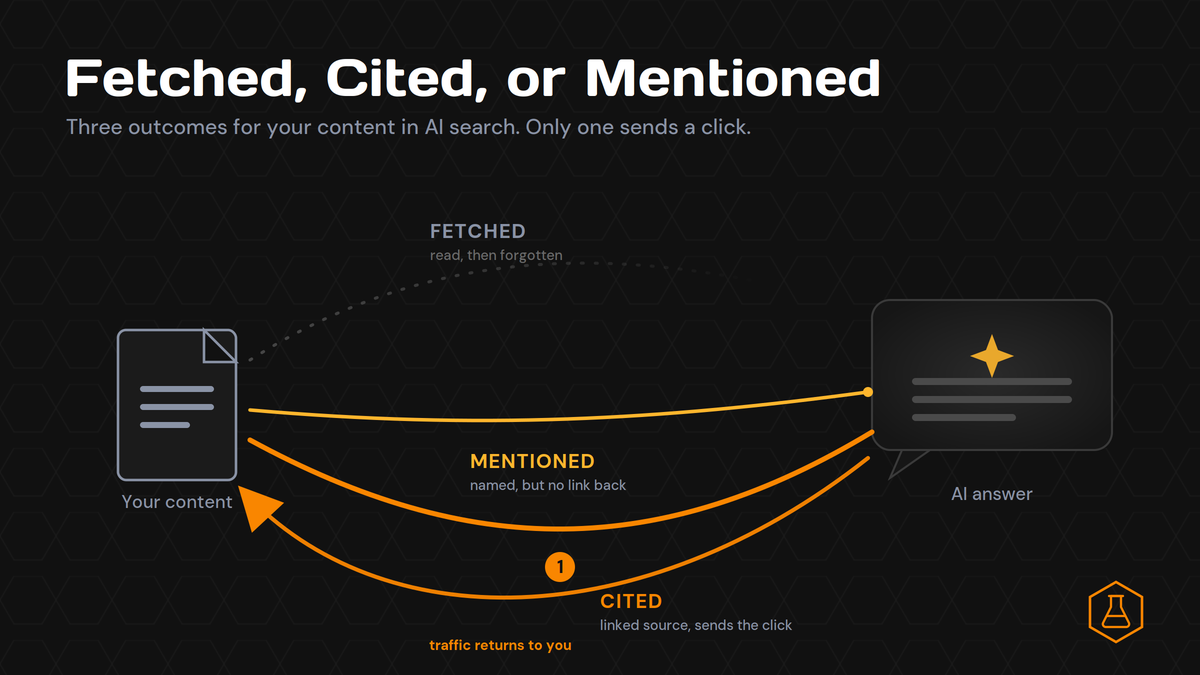
Fetched, Cited, or Mentioned: The 3 Ways AI Uses Your Content
You ran the test every marketer runs now. You asked ChatGPT about your category, watched your brand name show up in the answer, and felt good for about ten seconds. Then you checked your traffic. Nothing moved. Here is the part nobody explains. A mention is not a citation. And a citation is not the same as the page that
June 26, 2026
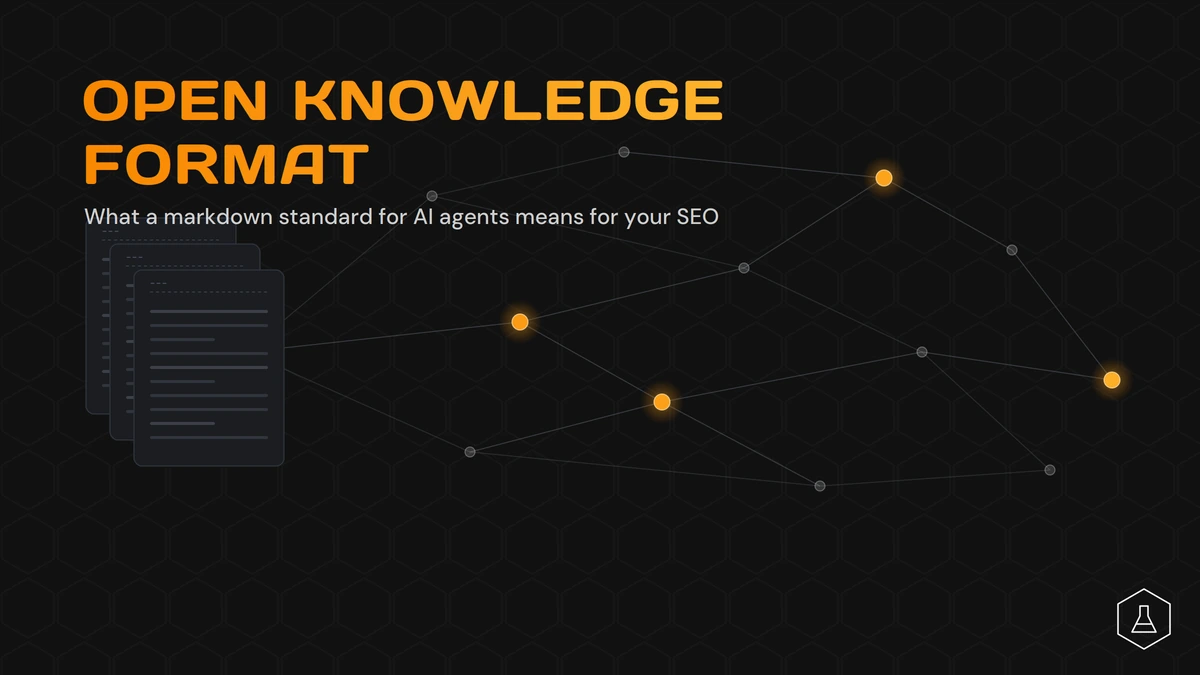
Open Knowledge Format: What It Means for SEO
Google just shipped the Open Knowledge Format, and the SEO world is split on what to do with it. Some say it’s the next big thing for AI search. Others say it has nothing to do with your rankings. Both camps are partly right. Here’s the short version. Open Knowledge Format (OKF) is a way to package your business knowledge so
June 23, 2026
Contact us
We value your privacy and won't share your email with others.
We'll only contact you with curated content.